

From my experience, I know many dealers and installers run away from plantation shutters, but I go in the opposite direction and embrace these wood or faux-wood interior shutters. It is true that making any mistake when dealing with shutters can be costly, but it is also true that once you master the techniques of measuring and installing, the margins and profits in this category of window treatments are significant.
Many refer to installing shutters as a giant jigsaw puzzle due to the complexity, but I prefer to think of shutters as Legos.
Yes, there are many ways to specify a shutter for each window, but the key is to understand each component (I refer to these as tools), including the frames, materials, louver sizes, and configurations. Once you understand what each tool does, you will be able to build the shutters easily and correctly to specification.
Here are the details about the key shutter tools:
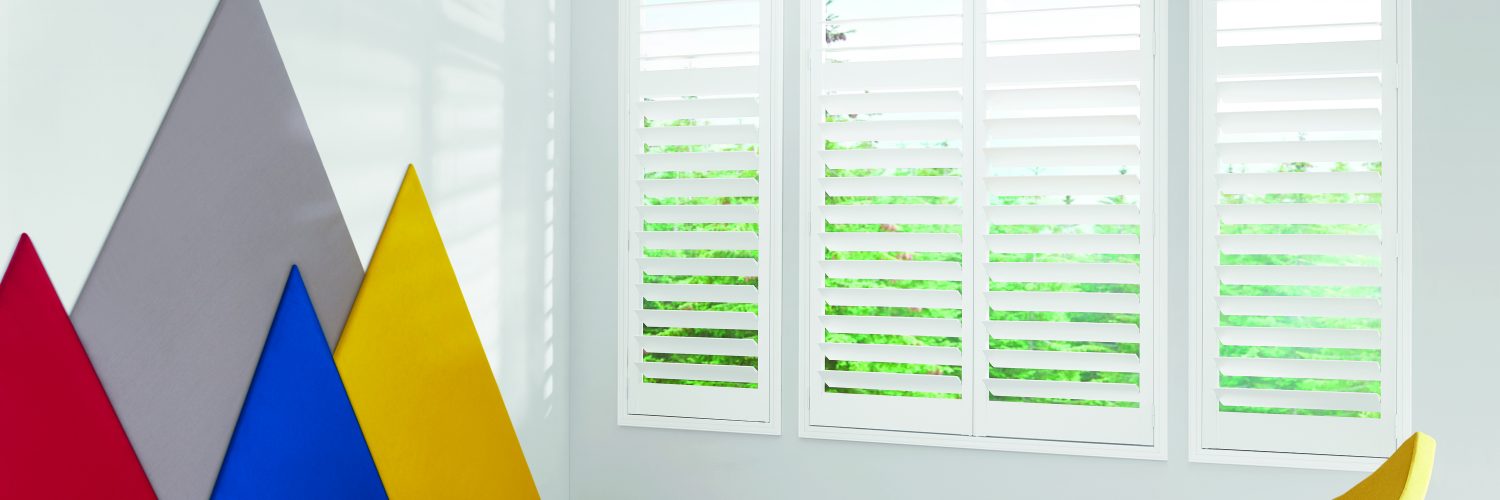
- Materials: While all shutters may look the same to your customer, they are made of different materials and the selected material may be the most important factor when specifying shutters for a window. Shutters are made from a variety of building materials, including PVC, composite, real wood, and aluminum. Each material has its own capabilities—some allow for single panels to be wider than others and some allow for custom color or staining.
- Louver sizes: The larger the size of each louver, the bigger the space between them. Obviously, louvers are great for a window treatment to create an unobstructive view; but the larger their size, the deeper the window jamb must be. This is to prevent the back of the louvers from hitting the window glass as they pivot. This is a very common mistake made by designers and installers. A great way to avoid this problem is to have a louver test kit on hand so you can easily check how the different-size louvers interact with the window while you are also measuring the size of the window.
- Tilting rods: The most common style is the front tilt rod that is placed at the center of the panel and has every louver stapled to the rod, so the louvers all move together. However, manufacturers have also started offering a second design option: the offset tilt rod. This allows for the placement of the rod to be placed at the edge of the louvers instead of at the rod’s center. From this more modern design, a new style of tilt rod was developed: the hidden tilt rod. This uses a very thin metal bar (and screws) to link all louvers and allows for the elimination of the front-tier rod. Some manufacturers even went a step further and developed a gear system that eliminates the back metal link. The gear system is placed in a cavity inside the side of the panel (called the style). This design style allows for the titling rod to have remote control capabilities.
- Mounting options: This is another tool that offers many possibilities when specifying shutters. It offers a direct mount (when the hinges are attached directly to a window jamb), but the window must be deep enough and fairly square in shape. There are also different frame options to assist dealers in creating the specifications for the shutters if the windows don’t have enough depth or when the windows are not square. In this case, the shutters are installed inside the window jambs to install the shutters inside jambs. Frames can vary in shapes from an L shape to decorative and Z frames (which are used when the window opening doesn’t have wood around it). Each frame-group offers slightly different size options and it is important to select the one that will work best for a given project.
- Configurations: This is the ability to specify how each shutter panel will be hinged. There are numerous possibilities. The configurations are like Legos and may be built in different ways. We use L for left hinges, R for right hinges, and T for a post. T posts usually have a dual function to be a design feature and/or a structural element to give the shutter configuration more strength and durability.
L are single-panel hinges installed on the panel’s left side.
LR are two panels where one is secured on the left side and the other is secured on the right side. They would close at the center of the window.
LL or RR are bifold shutters with both panels hinged on the same side. They are similar to a bifold closet door.
LRTLR are four-panel shutters, where the left panel hinges on the left and the right panels hinge on the T post. The third panel hinges on the left side and is also attached to the T post. The last panel hinges on the right side and is installed on the window’s wood frame.
 Applications: This is the tool that allows plantation shutters to be one of the most versatile shutter styles available. They can cover standard windows, skylights, sliding doors, arched windows, sidelights, French doors, angle top windows and various specialty-shaped windows.
Knowledge is power. The more you know about a product, its specifications, and how to take accurate measurements can make the difference in the project making money or you’re making costly mistakes. It is essential to be patient and take your time when taking the measurements. It is also a good idea to take photos of the windows to be able to refer to them if necessary. Also, ask the manufacturer’s representative to assist you on your first few shutter projects so you gain the necessary expertise and confidence. When it comes to being successful with shutters, the key is to stay focused and continue to sharpen your skills and installation techniques.
About the Author:
Roger Magalhaes is the founder of Trading Up Consulting, which provides installation training for window fashion professionals. Magalhaes has over 15 years of experience as a professional window treatment installer in the Boston area. He is also the installation instructor for the Window Fashion Certified Professional FastTrack program and serves on the board of directors of the Window Coverings Association of America.